Export Mapping List
Export Mapping List
ADIB's Export Mapping feature allows products to be organised into groups or data structures by applying filters based on product or data attributes. This makes it easy to group items according to specific criteria, helping to prepare data for export efficiently.
Export mappings must be assigned to a step for export, but they cannot be assigned directly. Therefore, export mapping lists are used to group multiple export mappings under a single structure. These lists can then be assigned to a step of an export job. It is important to note that each Export Mapping List must have a unique name.
In summary, this feature simplifies the sorting and filtering of data prior to export, ensuring that it is properly organised for the project. The following sections will explain how to create export mappings and export mapping lists, set the correct filters, and assign these lists to a step.
Configuration of Export Mapping and Exportmapping List
Creation of Export Mapping and Export Mapping Lists :
- To create export mappings or export mapping lists, click on the Advanced config section on the left and navigate to the Export Mapping section:
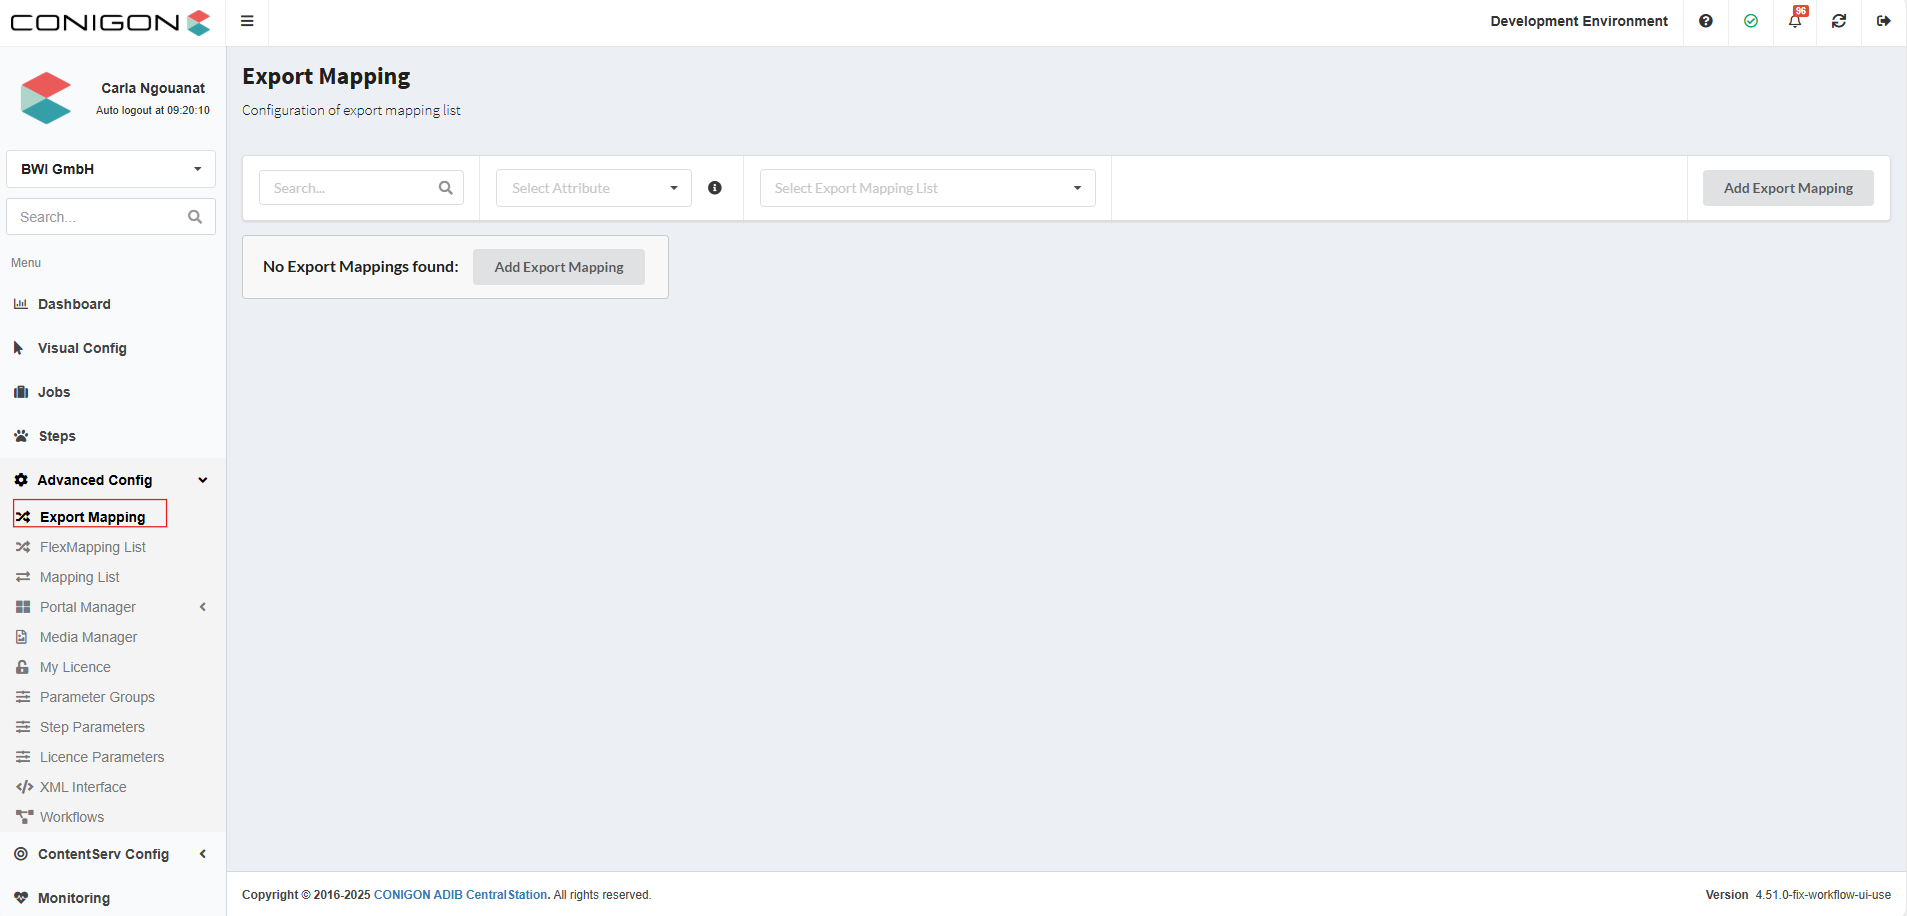
- After that, a window will appear where you can click on Add Export Mapping.
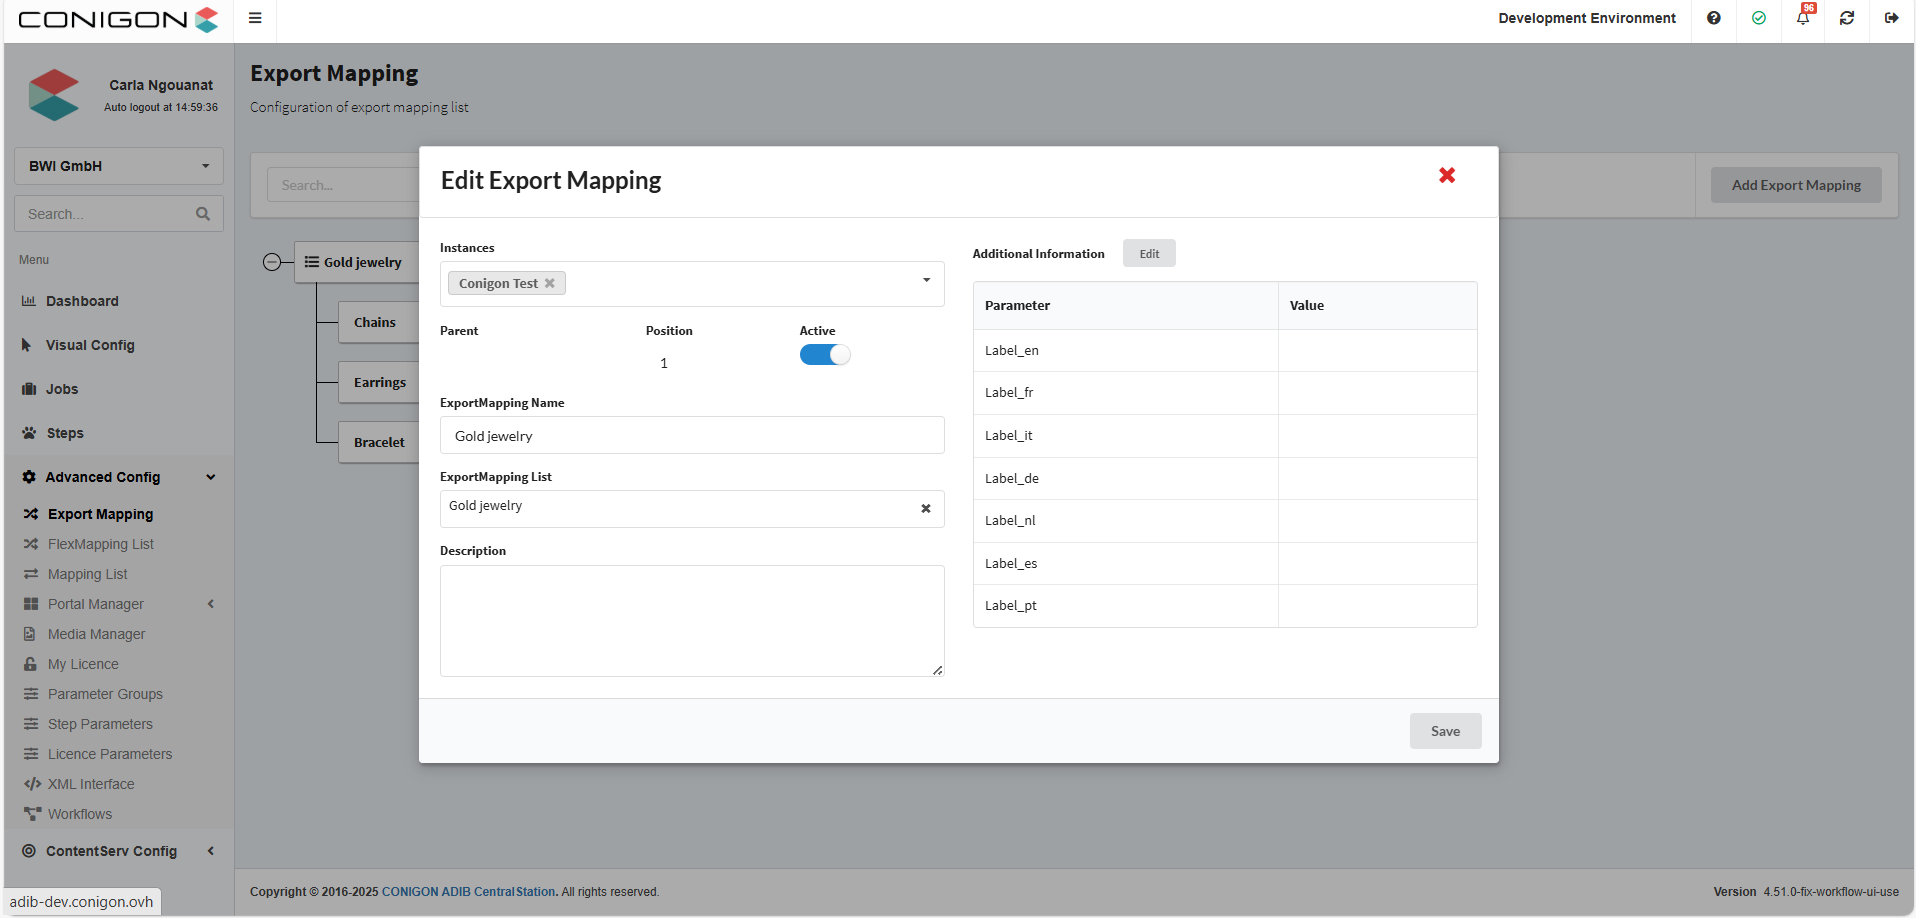
- Then fill in the following fields :
- Instances : select the IntegrationClient that you want to use.
- Active : must be activated to appear as an option in the export mapping list when assigning it to a step. It also needs to be activated within export mappings to be considered in the export mapping list.
- ExportMapping Name : enter the name of the export mapping
- ExportMapping List : Do not fill this in if you want to create an export mapping. However, if you want to create an export mapping list, you must fill it with the same value as the ExportMapping Name.The image above shows the process of creating an export mapping list.
- The Description field and the Additional Information section are optional. To add a translation of the export mapping name in different languages, click Edit next to Add Additional Information and complete the relevant fields. Once all important fields are filled in, make sure to click Save at the bottom right of the window.
- It is also possible to create export mappings under an export mapping list, but another mapping list cannot be created under an export mapping list. To do this, right-click on the existing export mapping list and select Add Export Mapping.
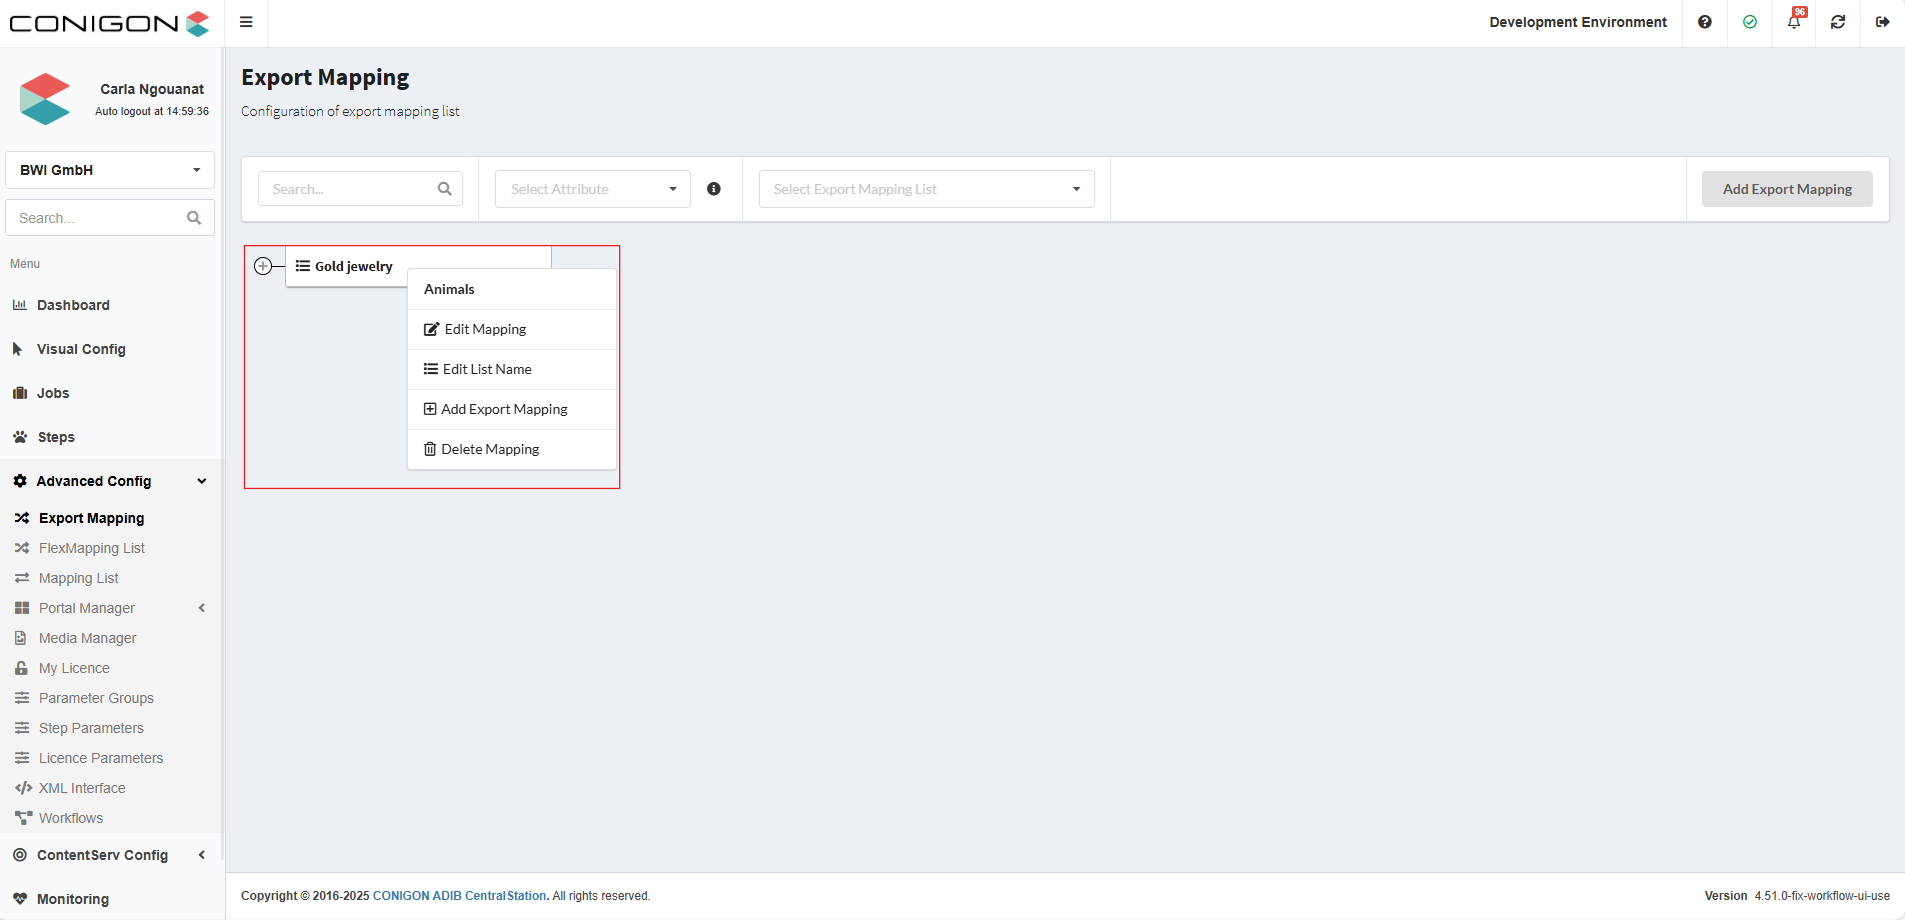 You can also perform other operations on an existing export mapping list :
- Edit Mapping : to edit all parameters of this export mapping list
- Edit List Name : to rename the export mapping list
- Delete Mapping : to delete the export mapping list
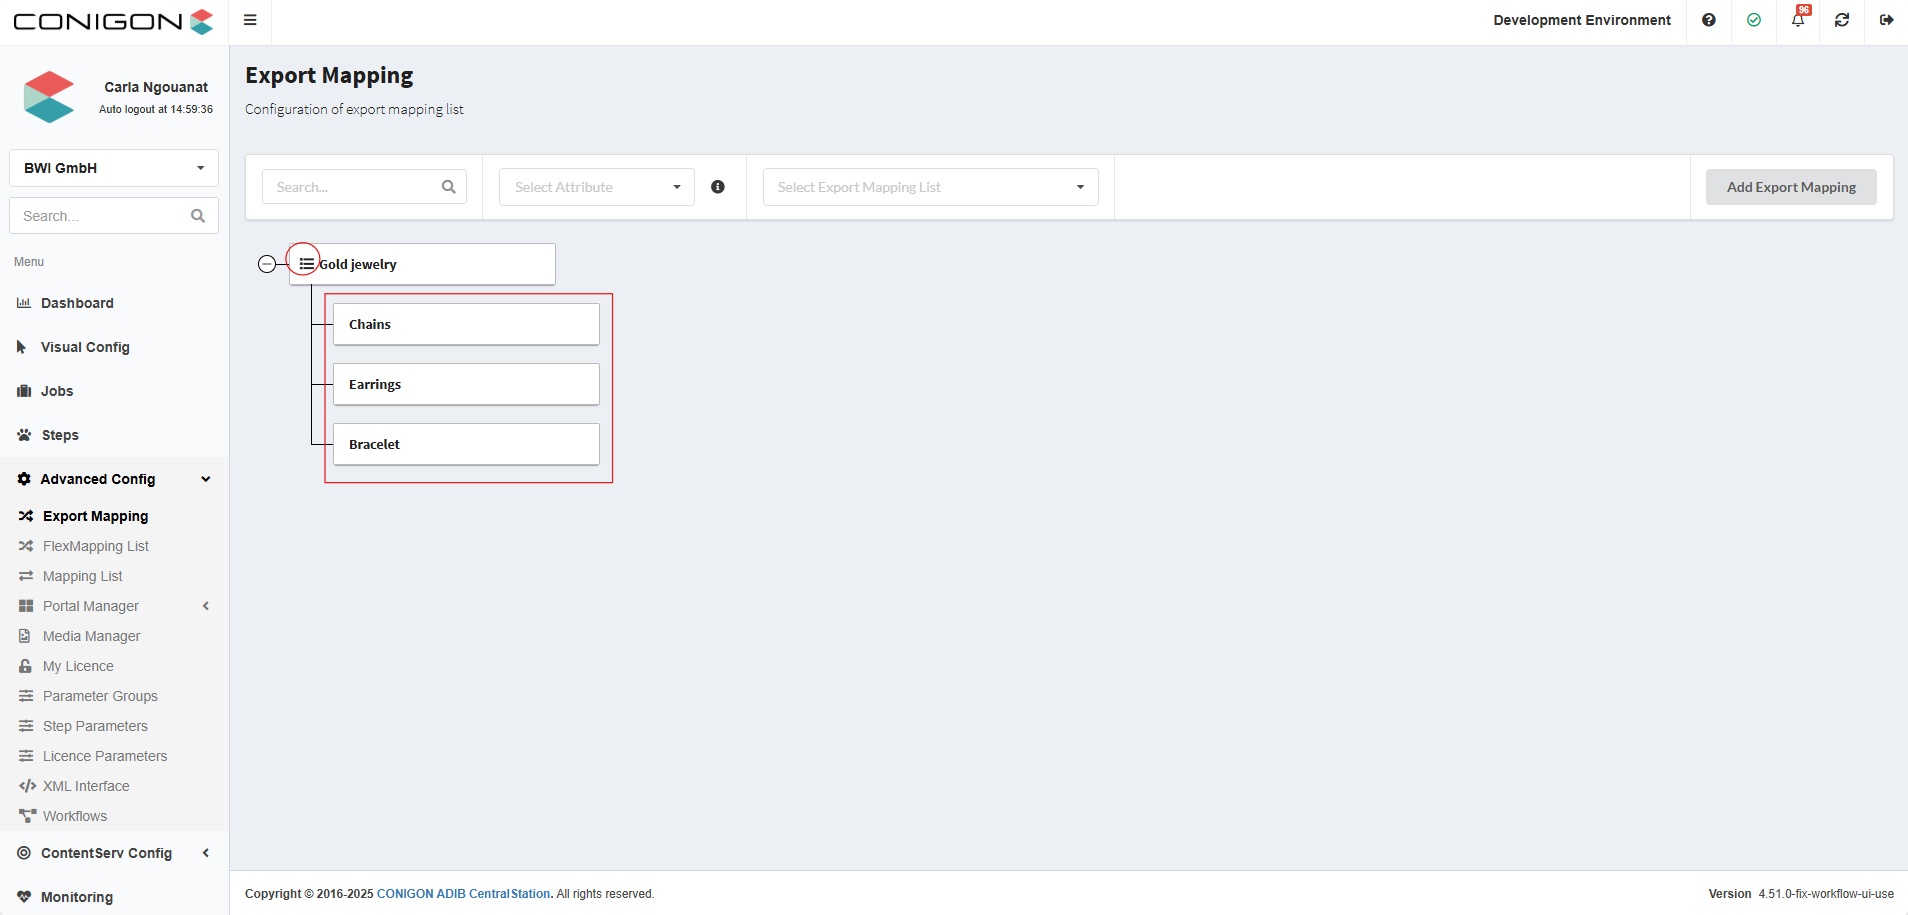
- Here you can do the difference between an Export Mapping List and an Export Mapping
 Adding filters to the export mapping:
You can only add filters to export mappings, and not to export mapping lists. To do this, you have to:
- Right-click on the export mapping you want to add the filter to and click on Edit Filter.

- Then the following window will appear :
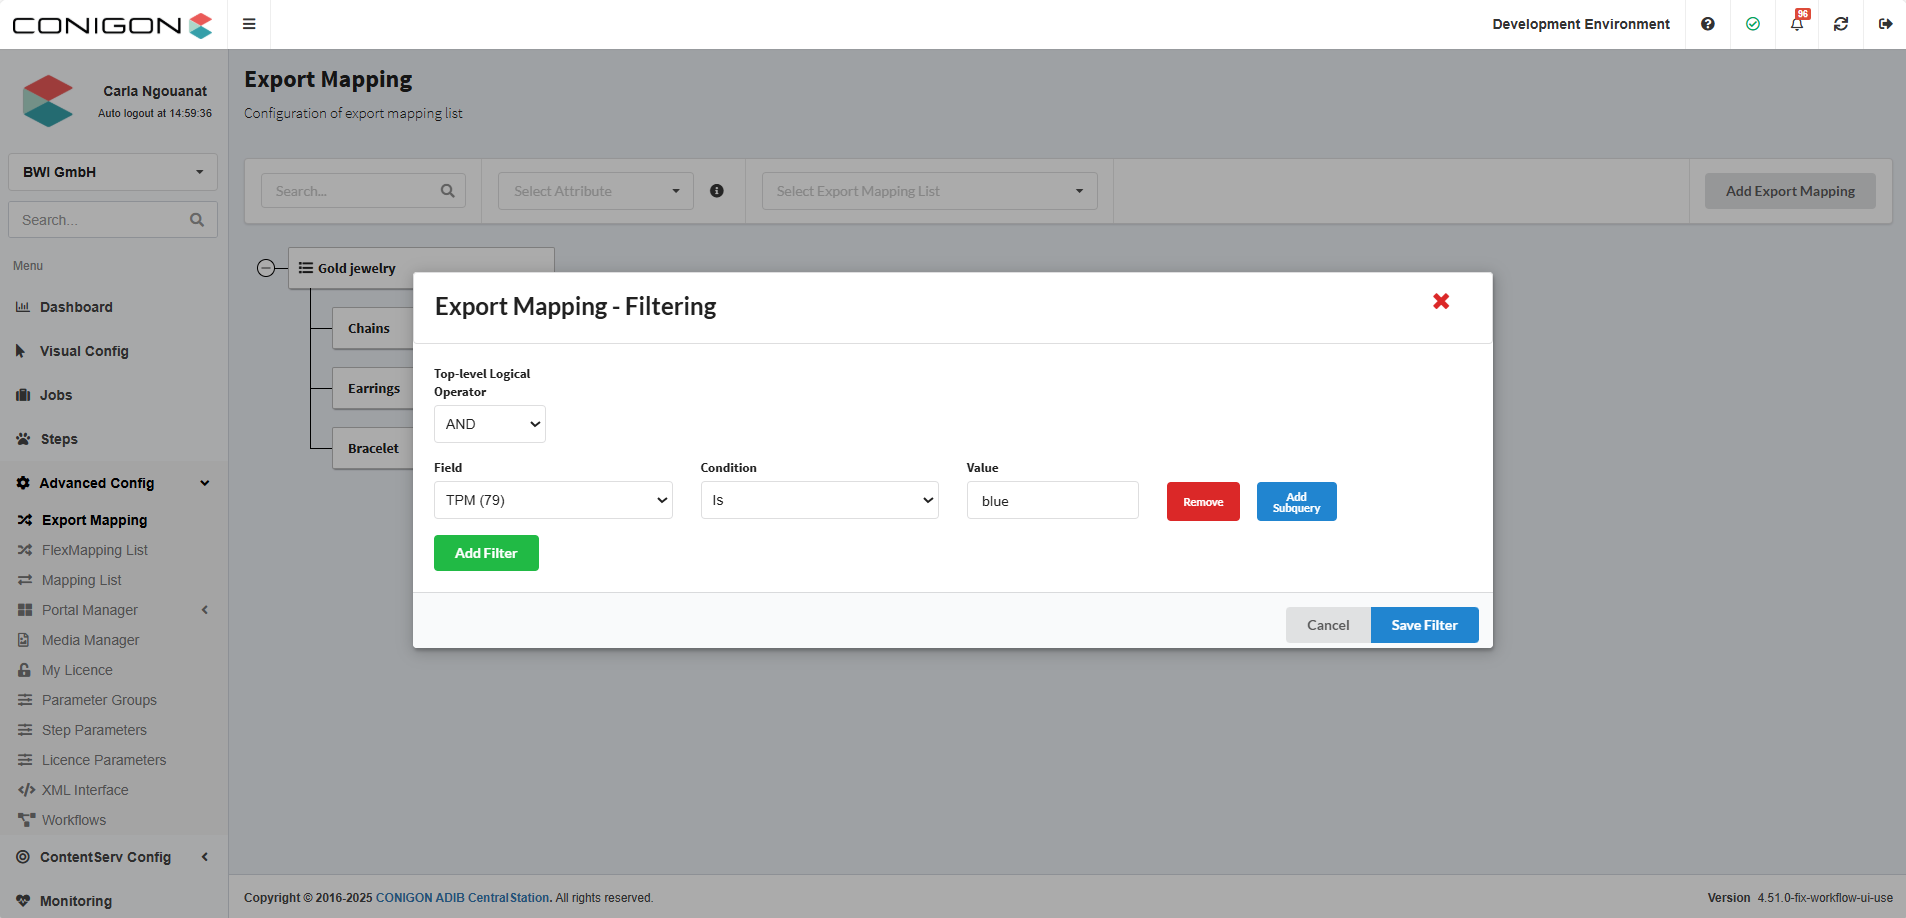
- Select 'And' or 'Or' as the operator :
- And when the product must fulfill all the conditions
- Or when the product must fulfill at least one condition.
- Then complete the fields Field, Condition and Value. It is also possible to add subqueries, which are additional conditions nested within the main query to refine the selection criteria.
- To add more conditions, click Add Filter again and repeat the process. Once finished, make sure to click Save Filter at the bottom left of the window
Assignment of an Export Mapping List to a Step
For the export mapping configuration to be executed, it is necessary to assign the export mapping lists to a step. To do this :
- After creating your job, navigate to the Steps section and create a new step by clicking on New.
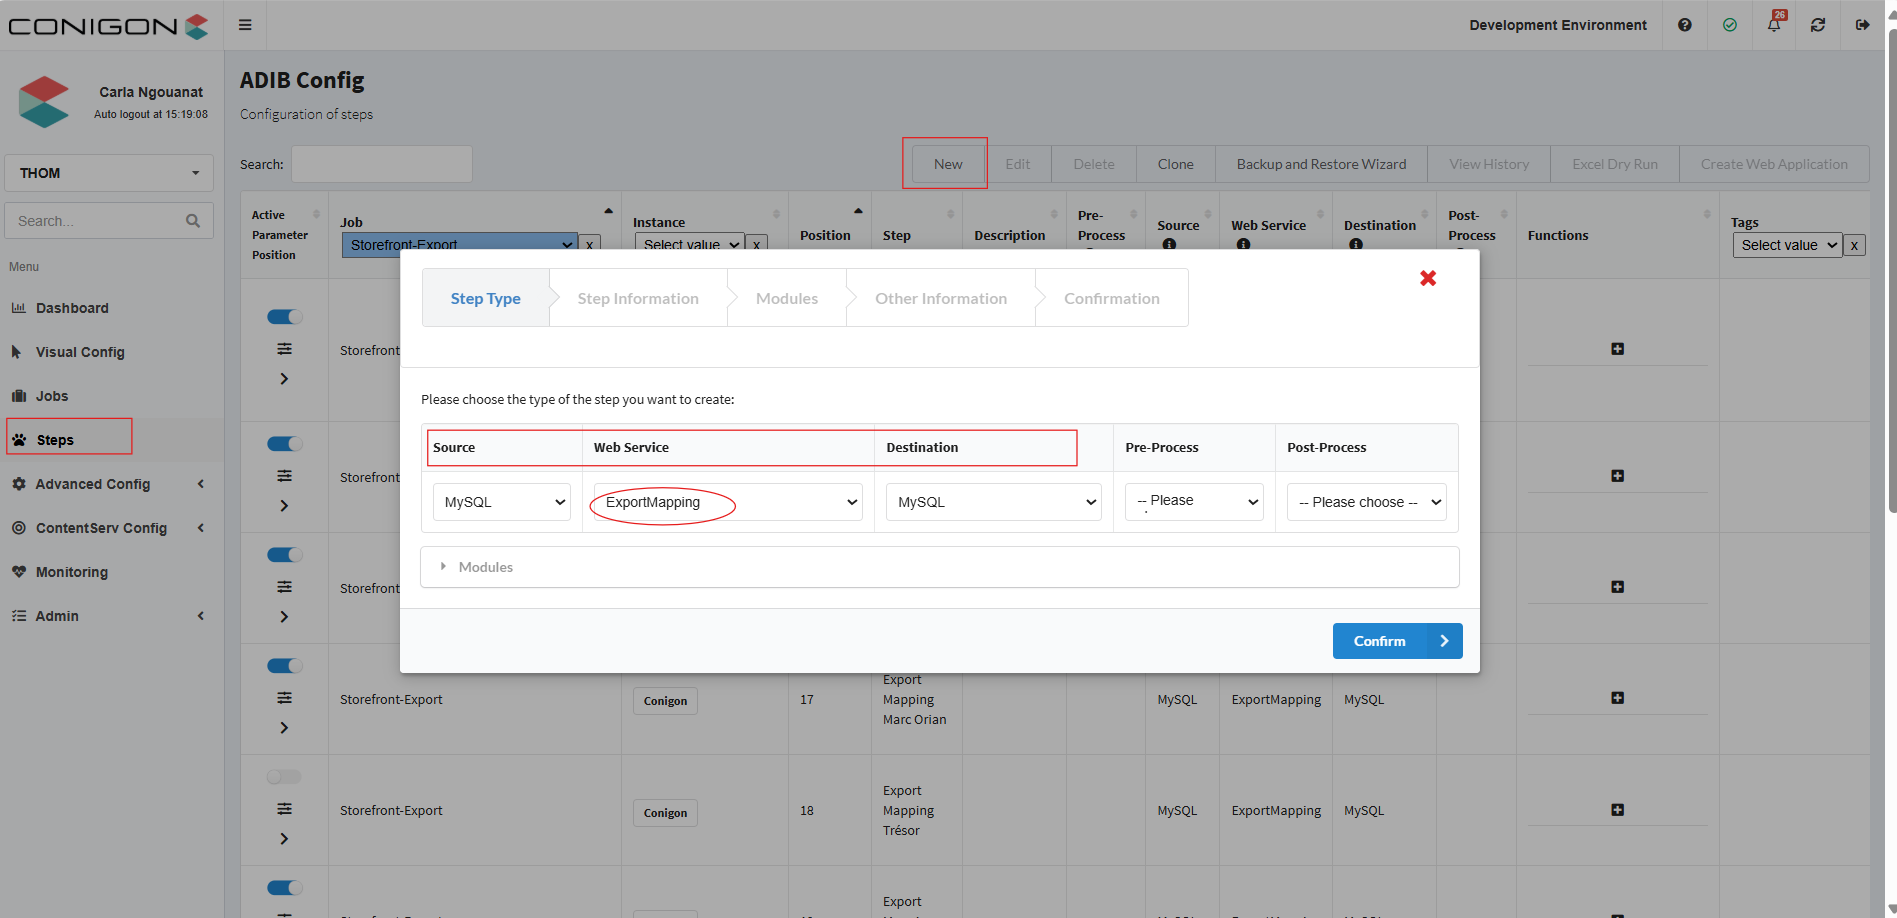
- Then, complete the following fields :
- Source : The origin of the data
- Web Service : choose ExportMapping
- Destination : The target location for the exported data.
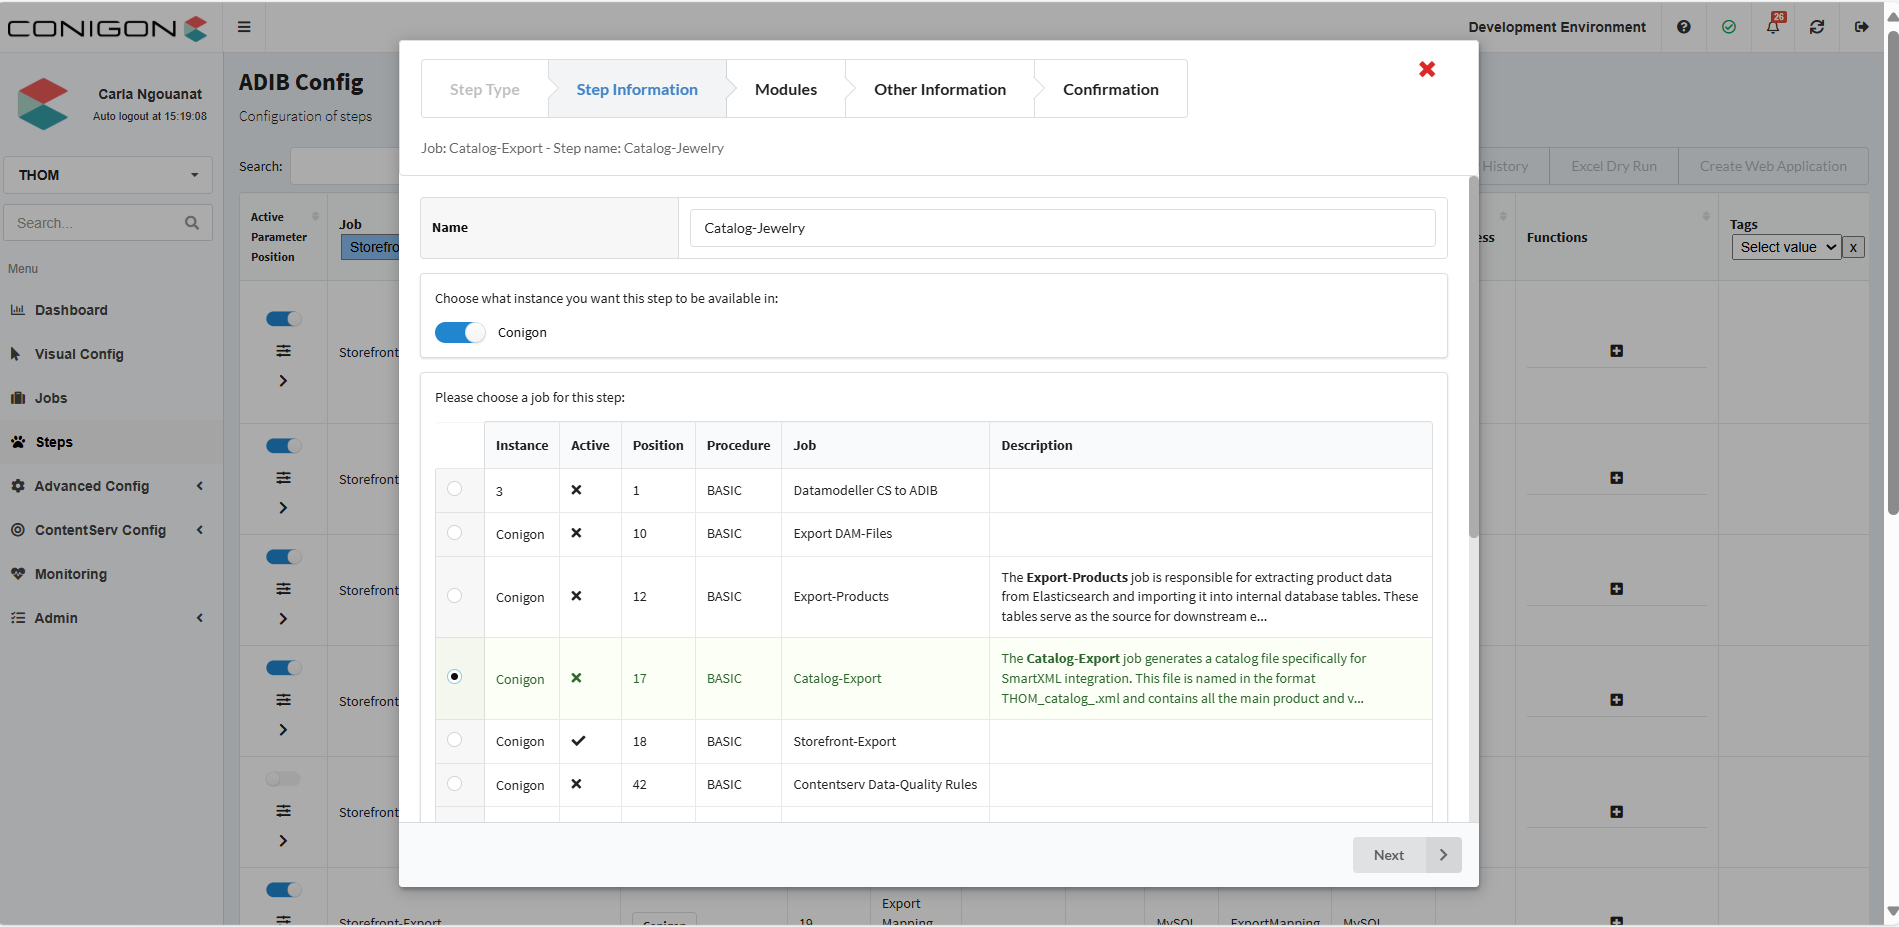
- Complete the Step Information
- Once done, go to the Modules section by clicking Next. Then, click New to configure the parameters of the Web Service.
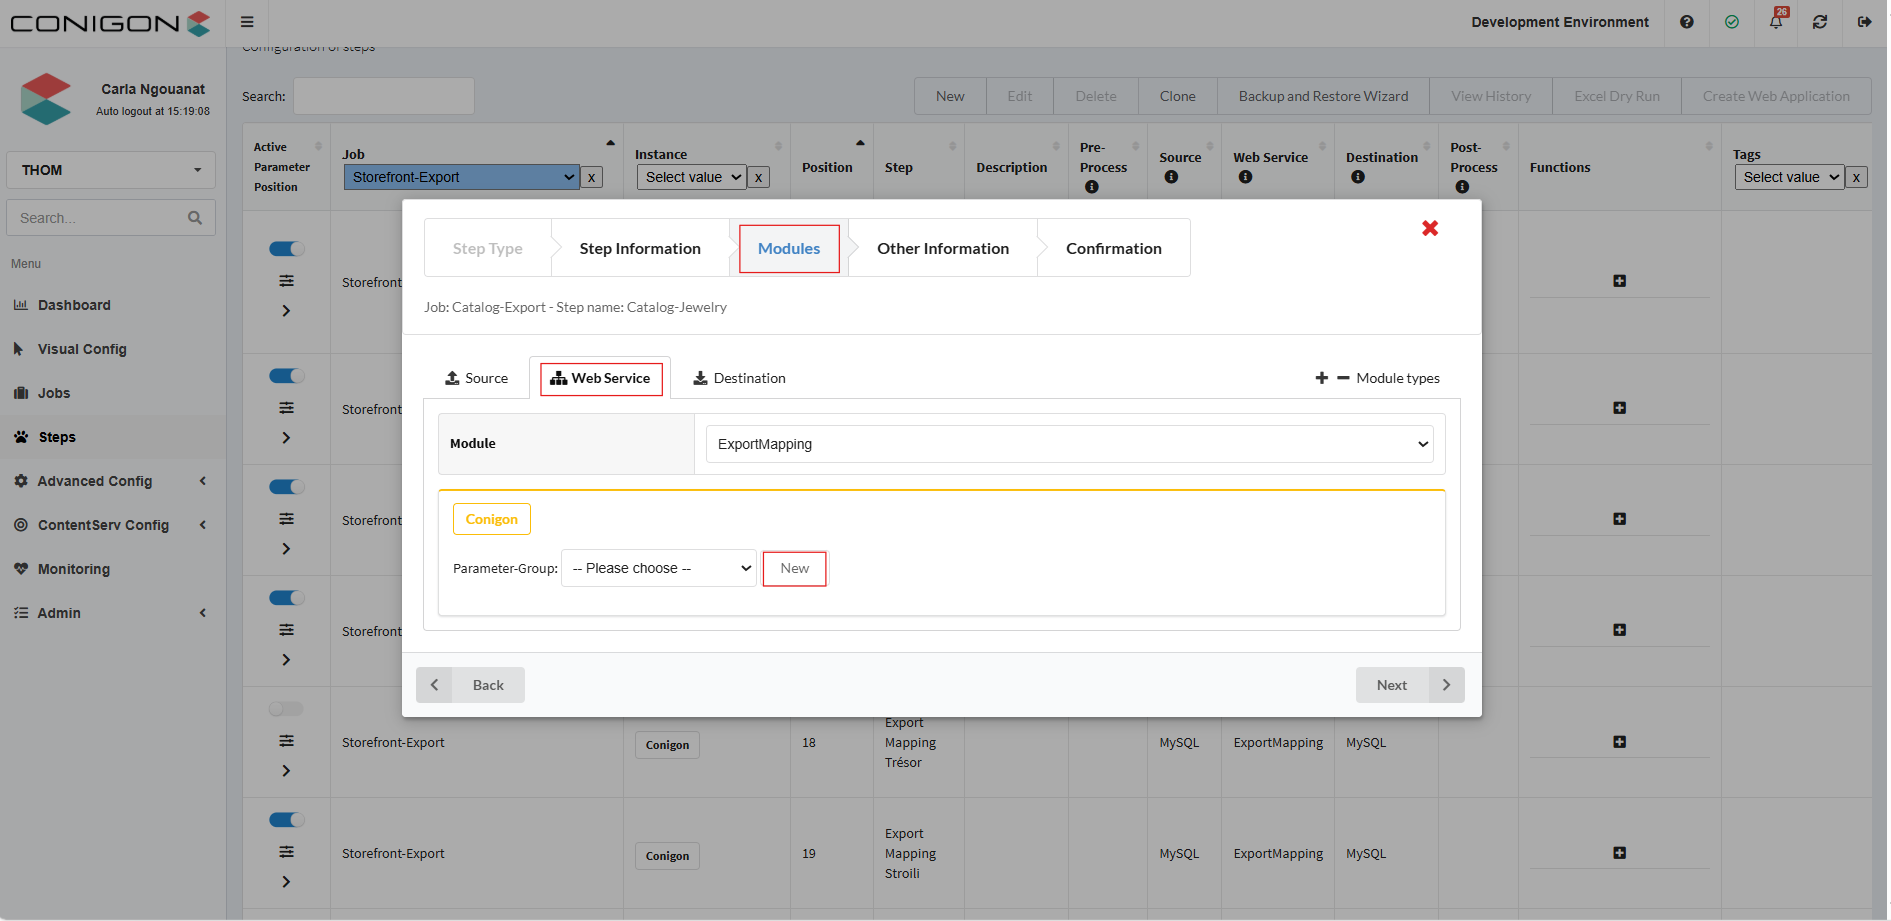
- Finally, assign the desired export mapping list to the exportmapping_list field and click OK to save the configuration.
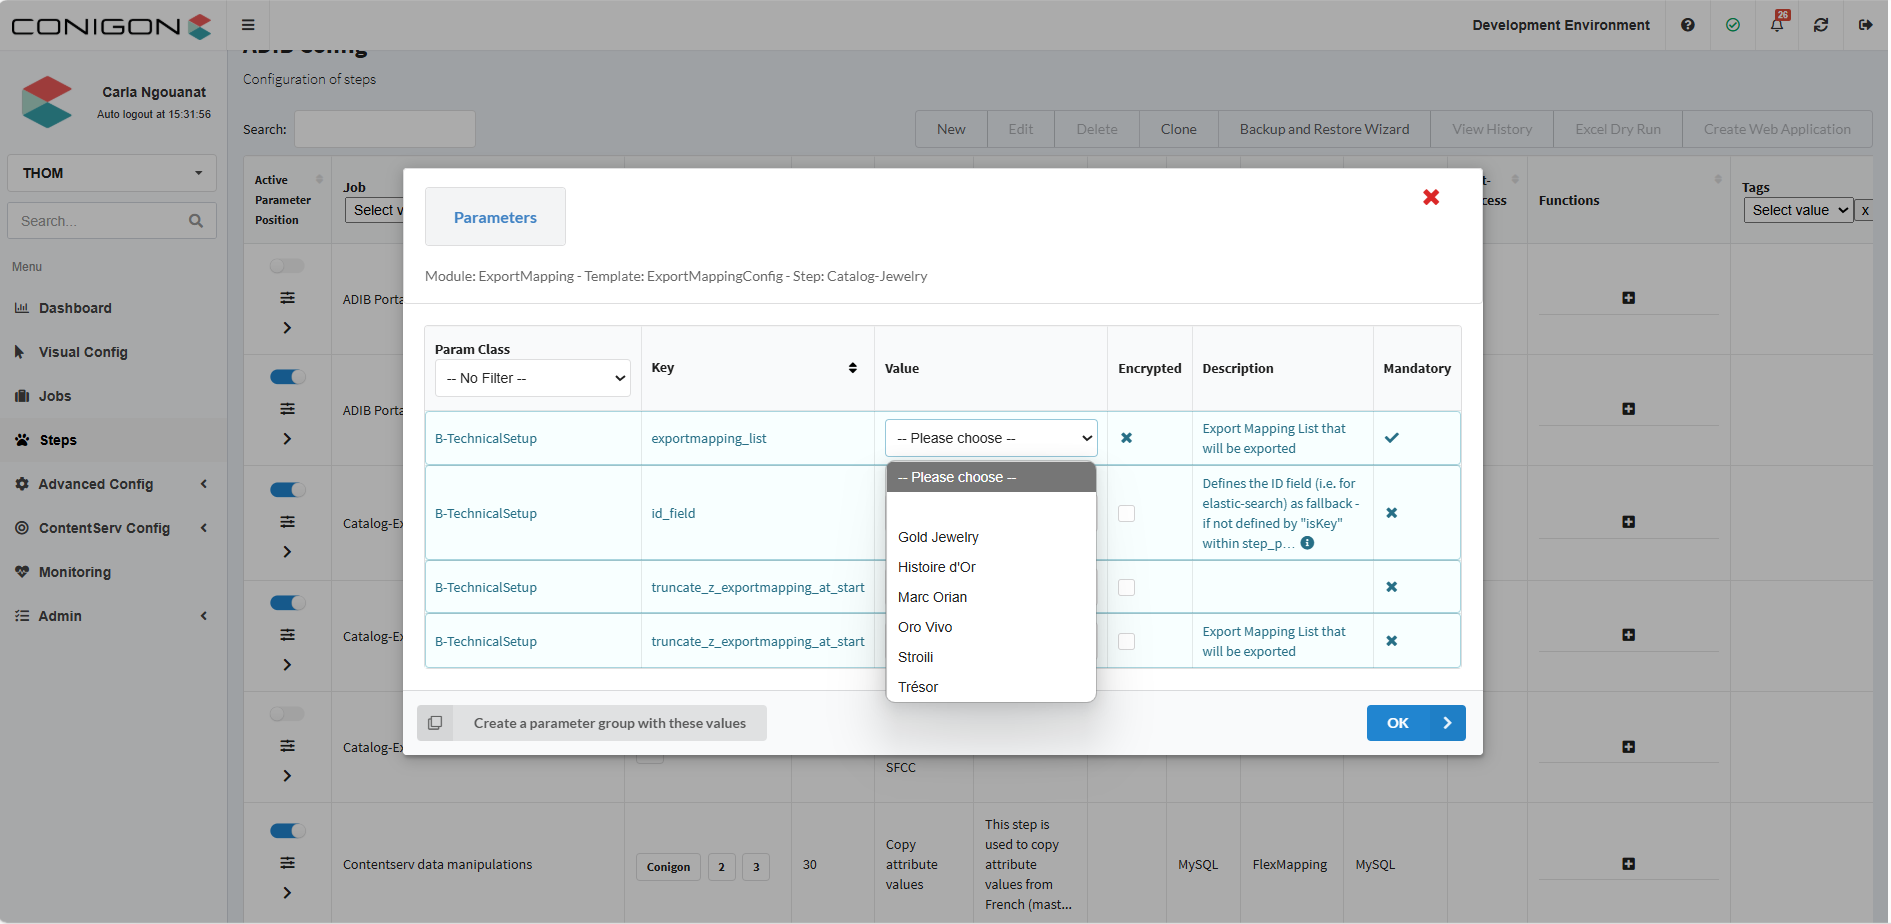
- If the export mapping list is not visible, ensure that it was activated during the configuration.